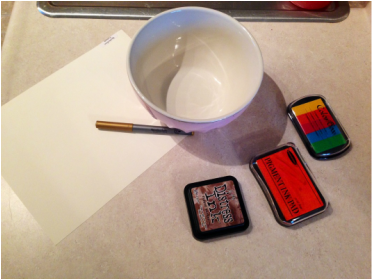
1. Gather your items- you will need:
~a piece of white or cream cardstock
~a bowl ( make sure it is smaller than your frame so that the edges of your wreath don't get cut off)
~a gold, brown or grey marker for tracing your bowl to make the wreath
~brown, orange, and yellow stamp pads ( stamp pads are on sale at Michael's right now!)
~ the person you want to use for your fingerprints ;)
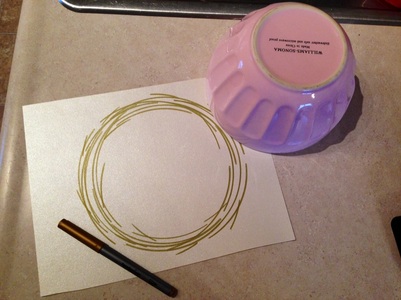
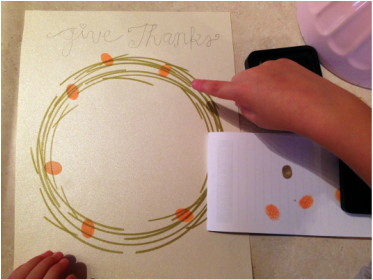
2. Trace the edges of your bowl while moving your bowl slightly up and down, side to side. Keep eye-ing your wreath to make sure it is symmetrical. You won't be drawing complete circles, but half circles around different sides of the bowl to make it look like a wooden wreath.
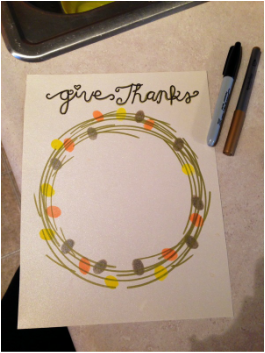
4. Now get your little fingers and put them to work! We did one color at a time, alternating colors on the wreath to make the fall leaves. Boston loved being included in the project since usually my crafts don't involve the kiddos ;)
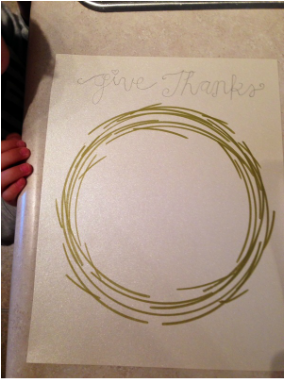
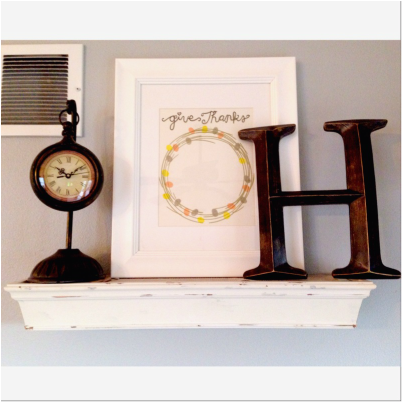
5. Trace over your penciled letters with either a gold or black marker ( I did both) and find a place to display your new Thanksgiving decor!
I love the simplicity of it, and I love that we made it together! Hope you enjoy!

 RSS Feed
